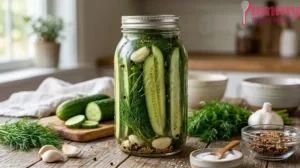
Ingredients
Equipment
Method
Step 1: Wash and Prepare the Cucumbers
- Give the cucumbers a good rinse under cold water and pat them dry. Trim the ends if you’d like, then slice them into spears or thick pickle chips. I usually make both because everyone in my house seems to have a favorite.

Step 2: Pack the Jars
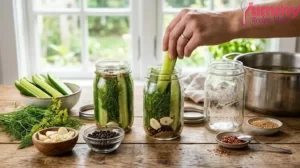
- Divide the fresh dill, garlic cloves, peppercorns, mustard seeds, coriander seeds, red pepper flakes, and grape leaves between your clean jars. Pack the cucumber pieces in tightly, but don’t force them so much that they bruise.
Step 3: Make the Brine
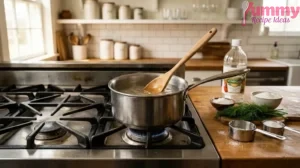
- In a saucepan, combine the water, white vinegar, kosher salt, and sugar. Heat over medium until the salt and sugar dissolve completely. There’s no need to boil it hard—just warm everything enough so it blends smoothly.
Step 4: Fill the Jars
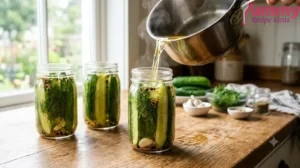
- Carefully pour the warm brine over the cucumbers until they’re fully covered. Leave about ½ inch of space at the top. I like to tap the jars gently on the counter to release any trapped air bubbles.
Step 5: Cool Completely
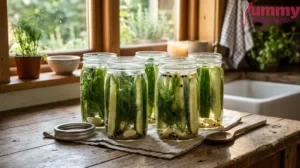
- Let the jars cool to room temperature before sealing them with lids. This little bit of patience keeps the cucumbers crisp. I rushed this step once, and the texture just wasn’t quite the same.
Step 6: Refrigerate
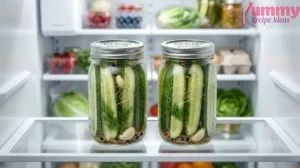
- Place the jars in the refrigerator for at least 24 hours. The longer they sit, the better they taste. Around the second or third day is when the garlic and dill really begin to shine.
Step 7: Enjoy
- Serve the pickles cold straight from the refrigerator. They’re wonderfully crunchy alongside burgers, sandwiches, barbecue, or even as a quick afternoon snack when you’re craving something fresh and tangy.

Notes
Personal Recipe Note: I’ve learned that letting these pickles rest for at least a full day makes a huge difference. I used to sneak one after only a few hours, and while they were good, the flavor became much brighter and the cucumbers stayed wonderfully crisp after an overnight chill.