
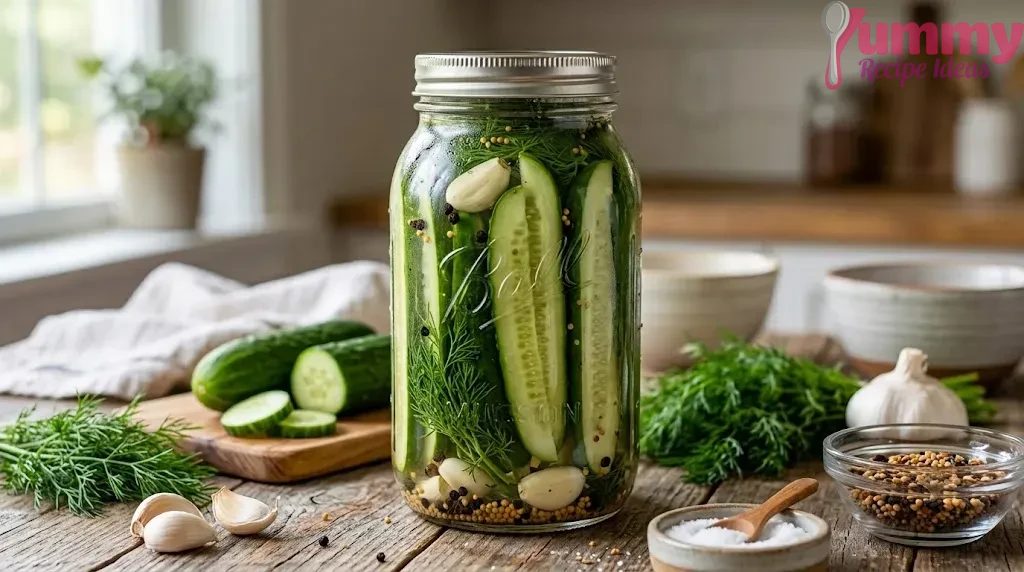
The first time I made this Grillos Pickle Recipe, I couldn’t believe how closely it matched those crisp, garlicky pickles I loved from the store. After a few batches in my own kitchen, I found a simple refrigerator method that delivers the same fresh crunch without any complicated canning.
If you’ve been craving homemade dill pickles with plenty of garlic, fresh dill, and a bright, tangy bite, this recipe is one you’ll want to keep in your refrigerator all summer. They’re wonderfully crisp, easy to prepare, and always disappear faster than I expect.
History of Grillos Pickle Recipe
The inspiration for this Grillos Pickle Recipe comes from the fresh refrigerated pickles made popular by Grillo’s Pickles. Their simple use of cucumbers, dill, garlic, and flavorful brine has inspired many homemade copycat versions. This recipe follows the same idea of creating crisp, tangy pickles without traditional canning. Today, these deli-style refrigerator pickles remain a favorite for pickle lovers everywhere.
Ingredients
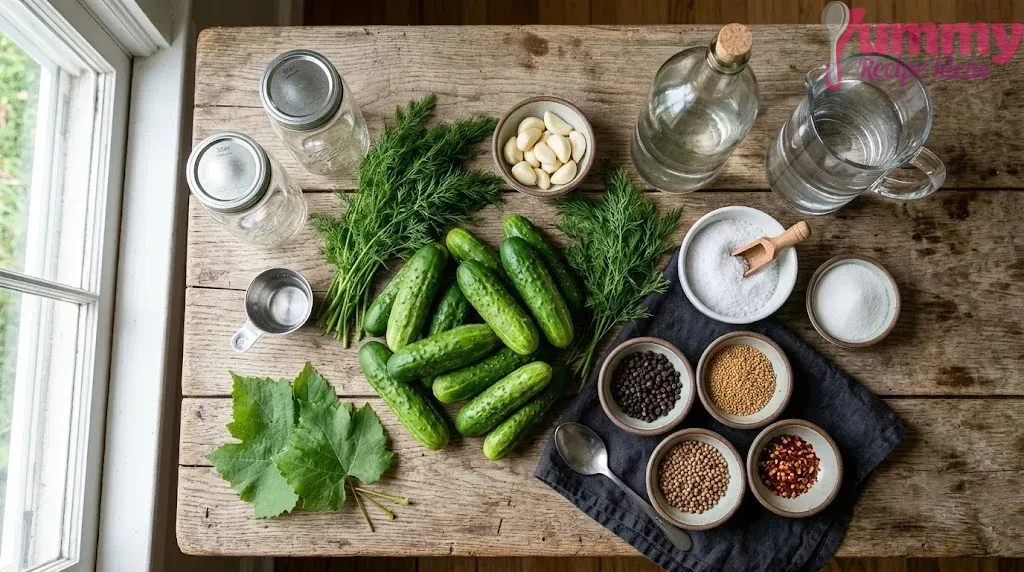
| Ingredient | Quantity |
|---|---|
| Pickling cucumbers | 2 pounds, sliced into spears or chips |
| Water | 2 cups |
| Distilled white vinegar | 2 cups |
| Kosher salt | 2 tablespoons |
| Granulated sugar | 1 tablespoon |
| Fresh dill | 1 large bunch |
| Garlic cloves | 6, peeled and lightly crushed |
| Red pepper flakes | 1 teaspoon |
| Black peppercorns | 1 teaspoon |
| Mustard seeds | 1 teaspoon |
| Coriander seeds (optional) | ½ teaspoon |
| Fresh grape leaves (optional, for extra crunch) | 2 leaves |
Equipment
- Large saucepan
- Measuring cups and spoons
- Sharp knife
- Cutting board
- Large glass jar or two quart-size jars with lids
- Mixing spoon
- Tongs
- Refrigerator
How to Make Grillos Pickle Recipe
Step 1: Wash and Prepare the Cucumbers
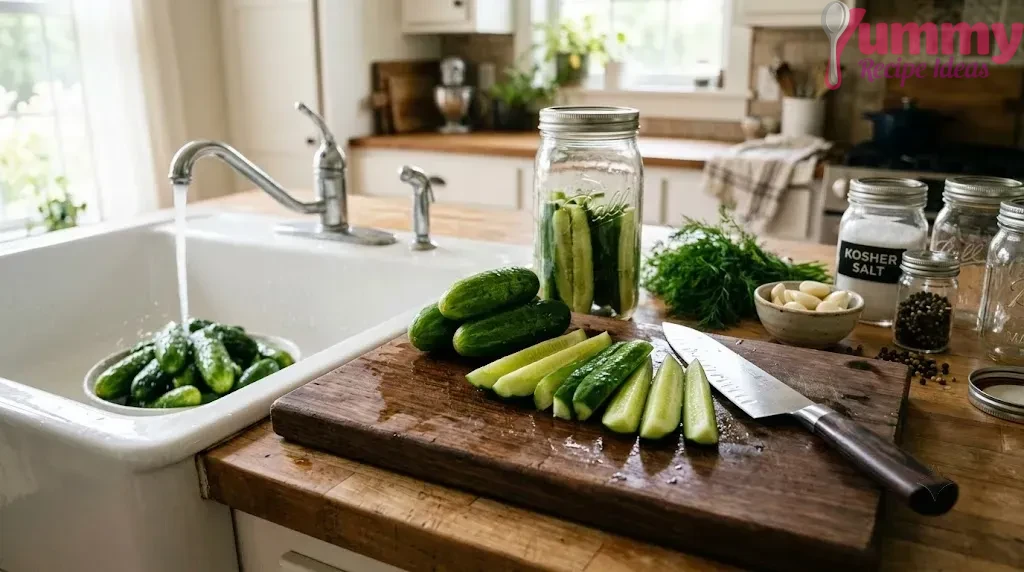
Give the cucumbers a good rinse under cold water and pat them dry. Trim the ends if you’d like, then slice them into spears or thick pickle chips. I usually make both because everyone in my house seems to have a favorite.
Step 2: Pack the Jars
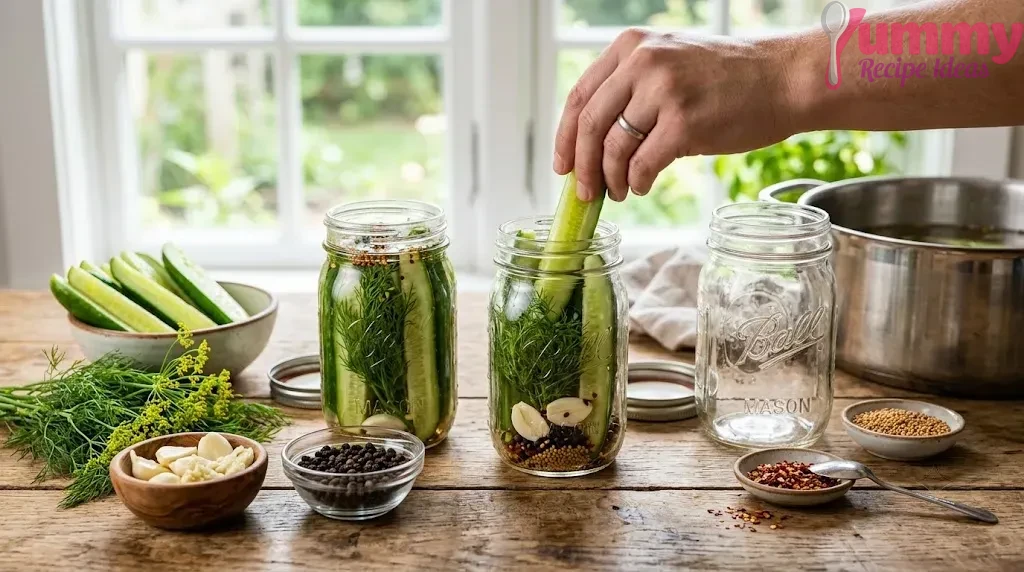
Divide the fresh dill, garlic cloves, peppercorns, mustard seeds, coriander seeds, red pepper flakes, and grape leaves between your clean jars. Pack the cucumber pieces in tightly, but don’t force them so much that they bruise.
Step 3: Make the Brine
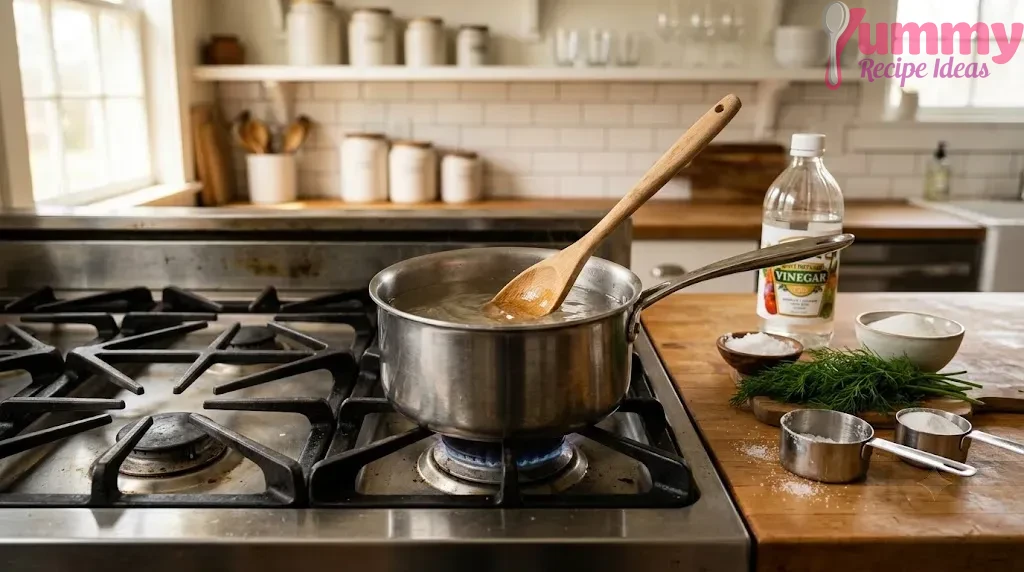
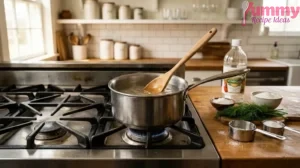
In a saucepan, combine the water, white vinegar, kosher salt, and sugar. Heat over medium until the salt and sugar dissolve completely. There’s no need to boil it hard—just warm everything enough so it blends smoothly.
Step 4: Fill the Jars
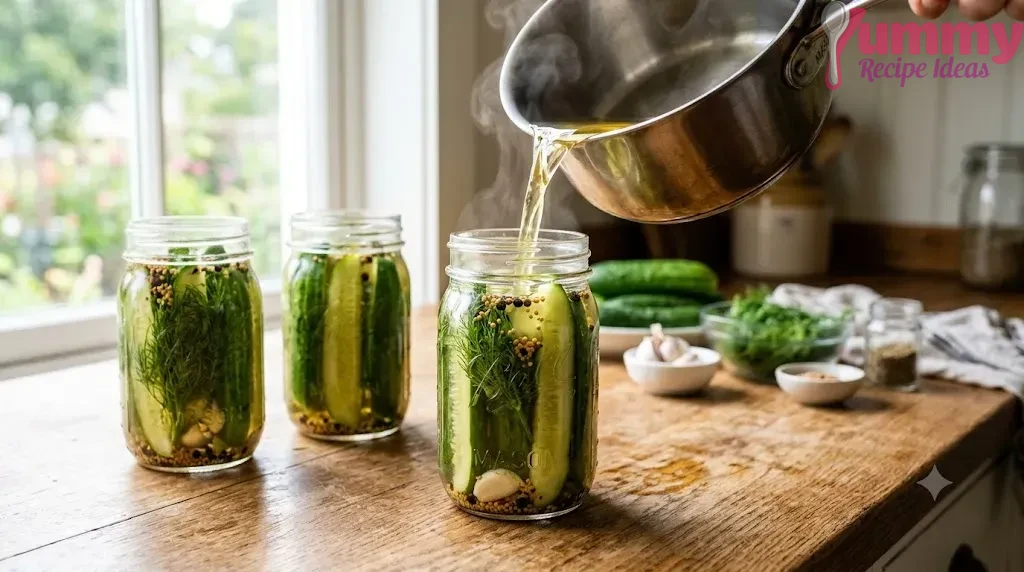
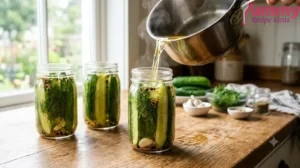
Carefully pour the warm brine over the cucumbers until they’re fully covered. Leave about ½ inch of space at the top. I like to tap the jars gently on the counter to release any trapped air bubbles.
Step 5: Cool Completely
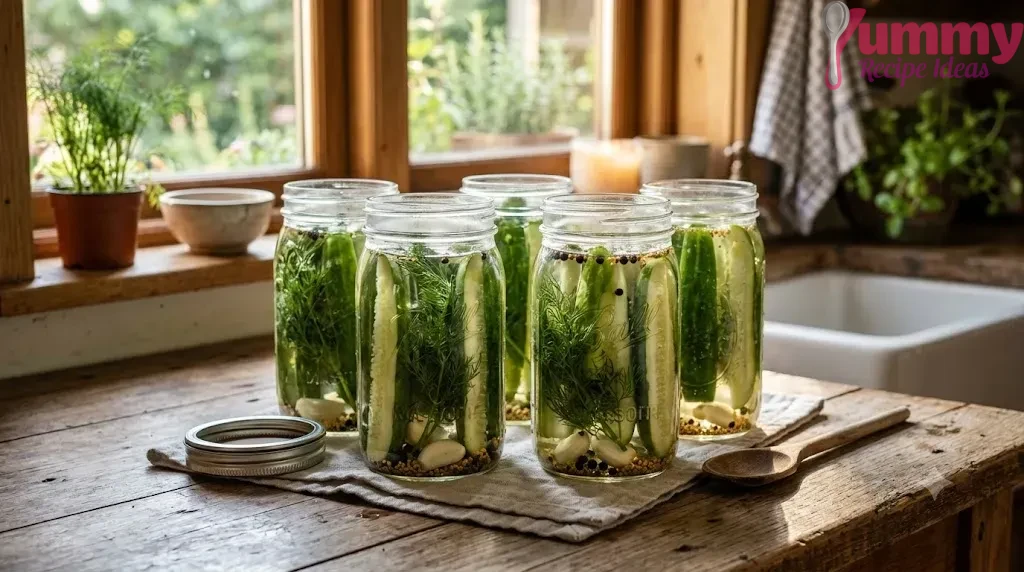
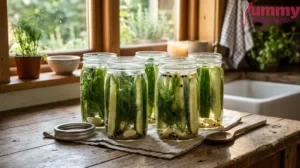
Let the jars cool to room temperature before sealing them with lids. This little bit of patience keeps the cucumbers crisp. I rushed this step once, and the texture just wasn’t quite the same.
Step 6: Refrigerate
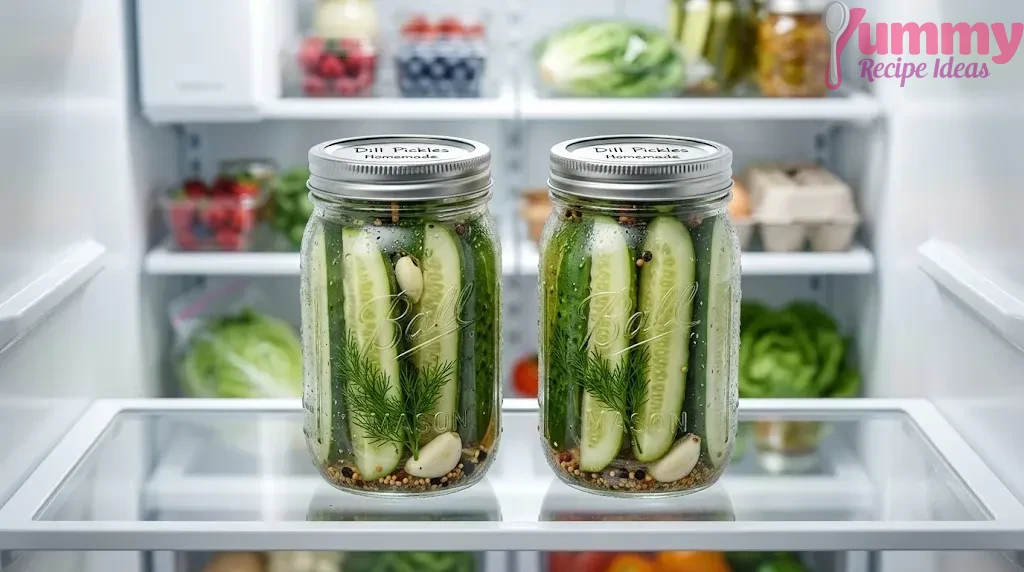
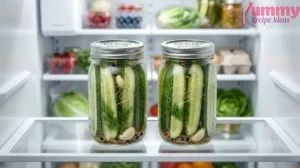
Place the jars in the refrigerator for at least 24 hours. The longer they sit, the better they taste. Around the second or third day is when the garlic and dill really begin to shine.
Step 7: Enjoy
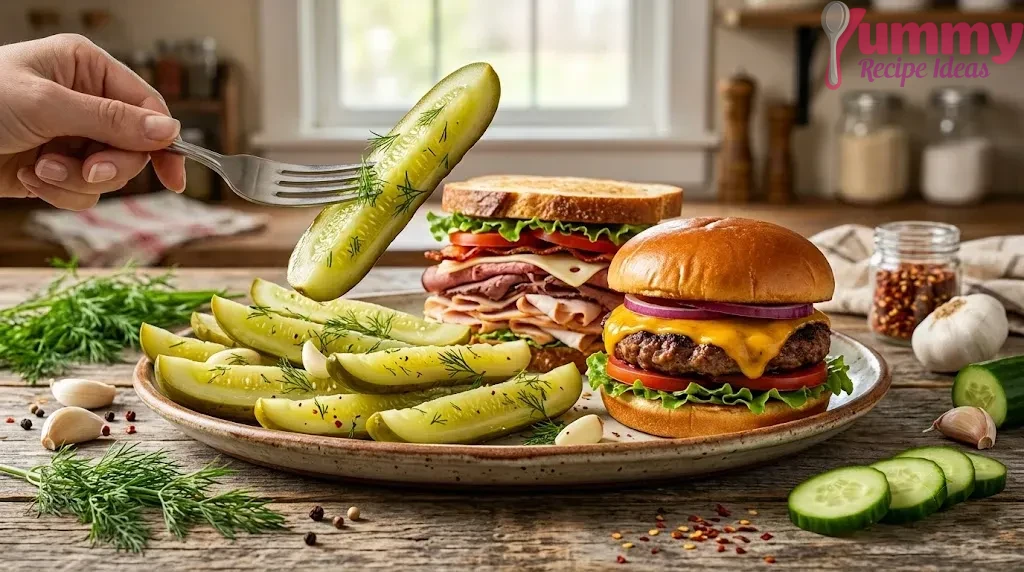
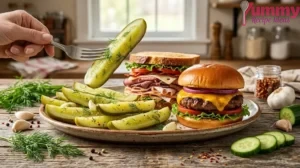
Serve the pickles cold straight from the refrigerator. They’re wonderfully crunchy alongside burgers, sandwiches, barbecue, or even as a quick afternoon snack when you’re craving something fresh and tangy.
What is the Grillos Pickle Recipe?
The Grillos Pickle Recipe is a homemade version of the famous refrigerated dill pickles, known for their crisp texture and fresh garlic-dill flavor. Unlike shelf-stable pickles, these stay refrigerated, helping them keep their bright taste and satisfying crunch.
Made with fresh cucumbers, vinegar, garlic, dill, and simple spices, these pickles are easy to prepare without any complicated canning. They’re delicious with burgers, sandwiches, barbecue, or enjoyed straight from the jar as a refreshing snack.
If you enjoy easy homemade recipes that bring fresh flavors to your kitchen, you may also love trying comforting dishes like my Wawa Chicken Corn Chowder Recipe.
Why You’ll Love This Recipe
- Stays crisp and crunchy with the simple refrigerator pickling method.
- Made with fresh dill, garlic, and everyday ingredients.
- No canning equipment or special preserving skills are needed.
- Easy to customize with your favorite herbs or spices.
- Tastes even better after a day or two in the refrigerator.
Pro Tips
- Choose firm, fresh pickling cucumbers for the crunchiest results.
- Use kosher salt for a clean, well-balanced brine.
- Let the pickles chill for at least 24 hours before serving.
- Keep the cucumbers fully submerged in the brine while refrigerating.
- Use fresh dill instead of dried for the best flavor.
For more information about safe food storage and preservation practices, you can follow guidance from the USDA Food Safety and Inspection Service.
Recipe Card
Grillos Pickle Recipe
Ingredients
Equipment
Method
- Give the cucumbers a good rinse under cold water and pat them dry. Trim the ends if you’d like, then slice them into spears or thick pickle chips. I usually make both because everyone in my house seems to have a favorite.
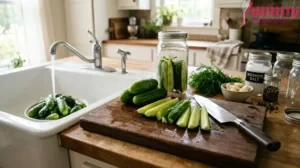
- Divide the fresh dill, garlic cloves, peppercorns, mustard seeds, coriander seeds, red pepper flakes, and grape leaves between your clean jars. Pack the cucumber pieces in tightly, but don’t force them so much that they bruise.
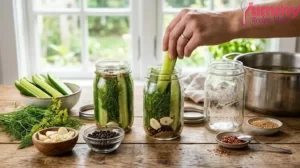
- In a saucepan, combine the water, white vinegar, kosher salt, and sugar. Heat over medium until the salt and sugar dissolve completely. There’s no need to boil it hard—just warm everything enough so it blends smoothly.
- Carefully pour the warm brine over the cucumbers until they’re fully covered. Leave about ½ inch of space at the top. I like to tap the jars gently on the counter to release any trapped air bubbles.
- Let the jars cool to room temperature before sealing them with lids. This little bit of patience keeps the cucumbers crisp. I rushed this step once, and the texture just wasn’t quite the same.
- Place the jars in the refrigerator for at least 24 hours. The longer they sit, the better they taste. Around the second or third day is when the garlic and dill really begin to shine.
- Serve the pickles cold straight from the refrigerator. They’re wonderfully crunchy alongside burgers, sandwiches, barbecue, or even as a quick afternoon snack when you’re craving something fresh and tangy.
Notes
Ingredient Substitutions
- Use apple cider vinegar instead of white vinegar for a slightly sweeter flavor.
- Replace fresh dill with dill seed if needed.
- Swap granulated sugar with a small amount of honey.
- Use shallots in place of garlic for a milder taste.
- Omit grape leaves if unavailable; fresh cucumbers will still produce crisp pickles.
Easy Variations
- Add sliced jalapeños for a spicy version with extra heat.
- Mix in extra garlic cloves for a bolder garlic flavor.
- Add fresh thyme or parsley for a different herb blend.
- Slice the cucumbers into rounds instead of spears for sandwiches and burgers.
- Increase the sugar slightly if you prefer a sweeter pickle.
Common Mistakes
- Using soft or overripe cucumbers can result in less crunchy pickles.
- Skipping the 24-hour chilling time won’t allow the flavors to fully develop.
- Adding too much or too little salt can affect the brine’s balance.
- Pouring boiling-hot brine over the cucumbers may soften their texture.
- Not keeping the cucumbers fully submerged can lead to uneven pickling.
Serving Suggestions
- Serve alongside burgers, hot dogs, or grilled chicken sandwiches.
- Add to potato salad, egg salad, or tuna salad for extra crunch.
- Pair with barbecue, smoked meats, or deli-style sandwiches.
- Arrange on a charcuterie board with cheese, crackers, and cured meats.
- Enjoy straight from the jar as a crisp, refreshing snack.
Homemade pickles are also a great match for grilled foods and summer cookouts, especially when served alongside flavorful sauces like my Homemade BBQ Sauce Recipe.
Storage Tips
- Store the pickles in an airtight glass jar in the refrigerator.
- Chill for at least 24 hours before serving for the best flavor.
- Always use a clean fork or tongs to remove the pickles.
- Keep the cucumbers completely submerged in the brine during storage.
- Enjoy within 3 to 4 weeks for the freshest taste and crisp texture.
Nutrition Facts
Approximate values per serving
| Nutrient | Amount |
|---|---|
| Calories | 18 |
| Total Fat | 0 g |
| Saturated Fat | 0 g |
| Cholesterol | 0 mg |
| Sodium | 520 mg |
| Total Carbohydrates | 4 g |
| Dietary Fiber | 1 g |
| Total Sugars | 2 g |
| Protein | 1 g |
| Vitamin C | 6% DV |
| Calcium | 2% DV |
| Iron | 2% DV |
| Potassium | 140 mg |
Health Benefits & Taste
These homemade refrigerator pickles are light, crisp, and naturally low in calories, making them a refreshing addition to many meals. Fresh cucumbers provide a satisfying crunch, while dill and garlic add plenty of flavor without extra fat.
The tangy vinegar brine, fragrant herbs, and mild spices create a bright, balanced taste that’s both refreshing and savory. Since they’re made fresh and kept refrigerated, they maintain a crisp texture that pairs perfectly with sandwiches, burgers, salads, and grilled dishes. Just keep in mind that, like most pickles, they’re best enjoyed in moderation because of their sodium content.
Personal Experience
I’ve been making these refrigerator pickles for years, and they never last long in my fridge. The first time I made them, I learned that waiting overnight really does make a big difference; the flavor becomes brighter, and the cucumbers stay wonderfully crisp.
Now I always keep a jar ready during cucumber season because they’re a family favorite. Whether I’m serving them with burgers, sandwiches, or enjoying one straight from the jar, that fresh crunch reminds me why this recipe has become one of my go-to homemade staples.
FAQs
1. How long do homemade refrigerator pickles last?
Store them in a sealed jar in the refrigerator for up to 3–4 weeks. For the best flavor and crunch, always use clean utensils when serving.
2. Can I use regular cucumbers instead of pickling cucumbers?
Yes, you can. However, pickling cucumbers usually stay firmer and produce a crispier texture than regular slicing cucumbers.
3. Do I need to can these pickles?
No. This is a refrigerator pickle recipe, so there’s no need for water-bath canning. Simply keep the jars refrigerated.
4. Why aren’t my pickles crunchy?
Soft cucumbers, hot brine, or not chilling the pickles long enough can reduce their crunch. Always start with fresh cucumbers for the best results.
5. Can I make these pickles spicy?
Yes! Add sliced jalapeños, serrano peppers, or extra red pepper flakes to the jar before pouring in the brine.
6. How soon can I eat them?
The pickles are ready after about 24 hours, but they taste even better after 48 hours as the flavors continue to develop.
Conclusion
This homemade Grillos Pickle Recipe is a simple and delicious way to enjoy fresh, crunchy refrigerator pickles with everyday ingredients. After just a little prep and some time in the fridge, you’ll have tangy, garlicky pickles that pair perfectly with burgers, sandwiches, salads, or as a quick snack. If you try this recipe, I’d love to hear what you think! Leave a comment, rate the recipe, and share your favorite way to enjoy these homemade pickles. Happy pickling!
