Oh, friend, if you have a bowl of ripe plums sitting on your counter right now, this is your sign. This plum jam recipe, Jamie Oliver style, is the one I keep coming back to every single summer. Simple ingredients, big flavor, and honestly, it makes your whole kitchen smell incredible.
Recipe Overview
- Prep Time: 20 minutes
- Cook Time: 40 minutes
- Total Time: 1 hour
- Servings: About 4 jars (8 oz each)
- Cuisine: British / American Home Cooking
- Category: Jam / Preserves
- Approximately 45 calories per tablespoon
Ingredients
| Ingredient | Quantity |
|---|---|
| Fresh ripe plums (pitted and chopped) | 2 lbs (about 900g) |
| Granulated white sugar | 1 ½ cups |
| Fresh lemon juice | 2 tablespoons |
| Lemon zest (optional but lovely) | 1 teaspoon |
| Water | ¼ cup |
Equipment
- Large heavy-bottomed pot or Dutch oven
- Wooden spoon
- Ladle
- 4 clean glass jars with lids (sterilized)
- Kitchen thermometer (optional but helpful)
- Small plate (for the wrinkle test, more on that in a second)
How to Make Plum Jam Recipe Jamie Oliver
Step 1: Prep Your Plums
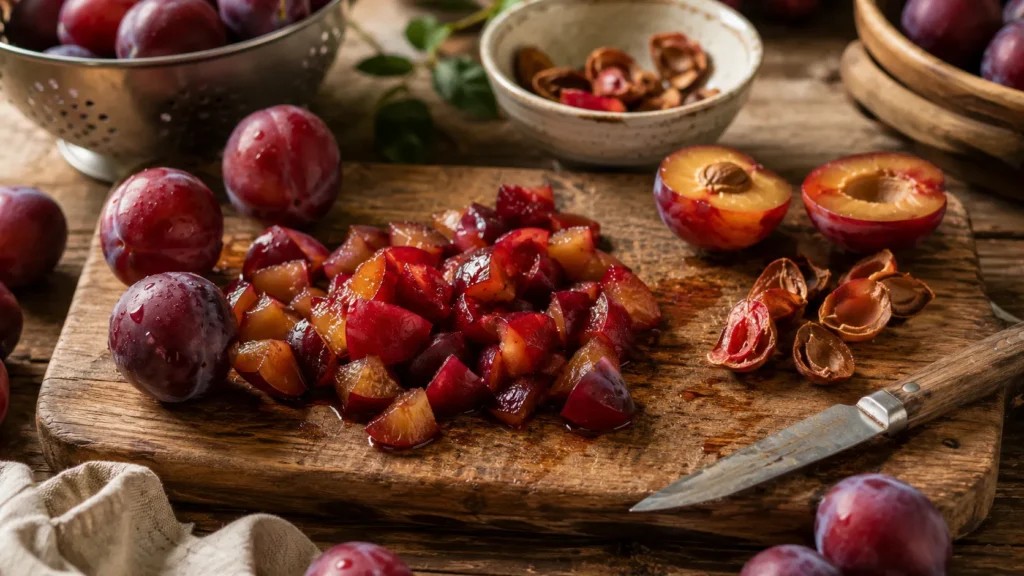
Wash, pit, and roughly chop your plums. You don’t need to peel them; the skins melt right in and give the jam this gorgeous deep ruby color.
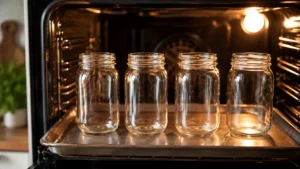
Step 2: Sterilize Your Jars

Pop your jars in a 200°F oven for about 10 minutes. I do this while I’m prepping the fruit so everything’s ready to go at the same time.
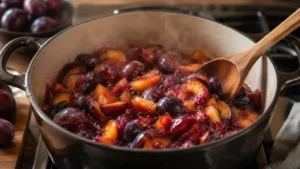
Step 3: Start Cooking the Plums
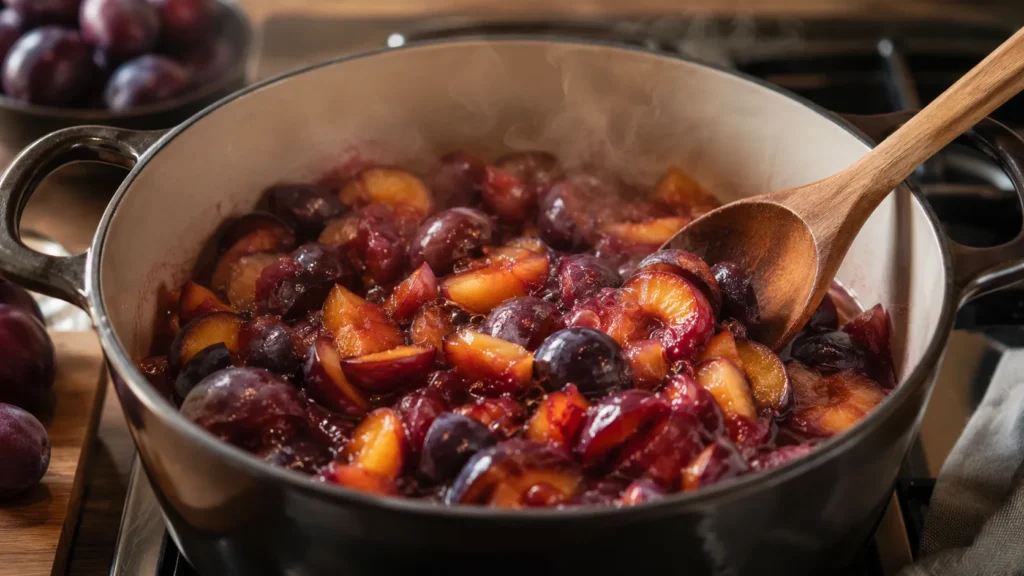
Add your chopped plums and the water to your pot over medium heat. Stir gently and let them soften for about 8-10 minutes until they start breaking down.
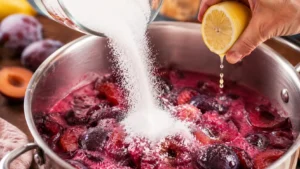
Step 4: Add Sugar and Lemon

Pour in the sugar and lemon juice, then stir until the sugar fully dissolves. The whole pot turns this beautiful dark pink and smells absolutely dreamy right about now.
Step 5: Bring to a Rolling Boil
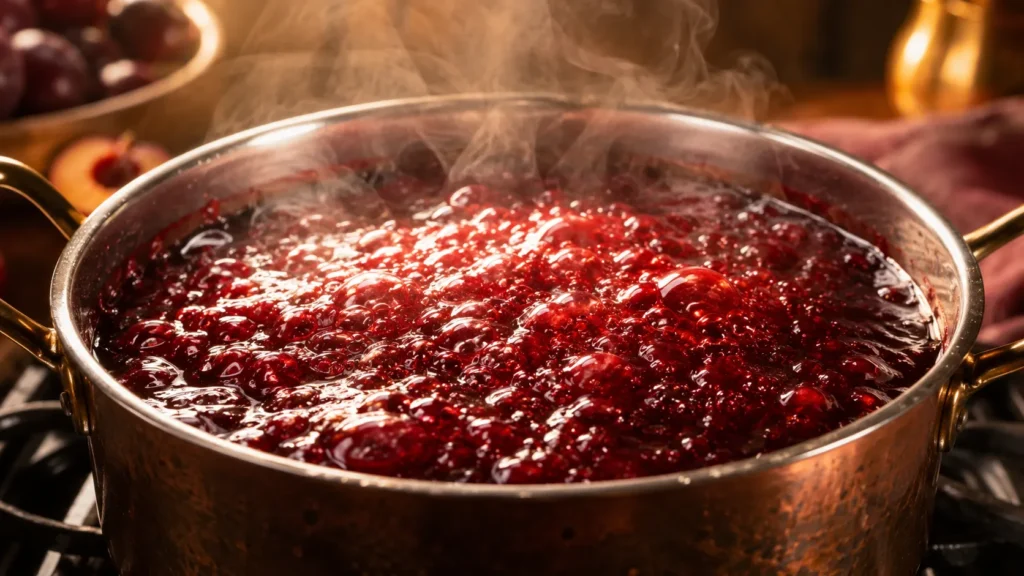
Turn the heat up to medium-high and let the jam reach a full rolling boil, one that doesn’t settle down when you stir it. Keep stirring often so it doesn’t stick to the bottom.
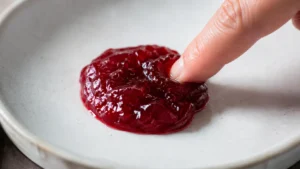
Step 6: Do the Wrinkle Test
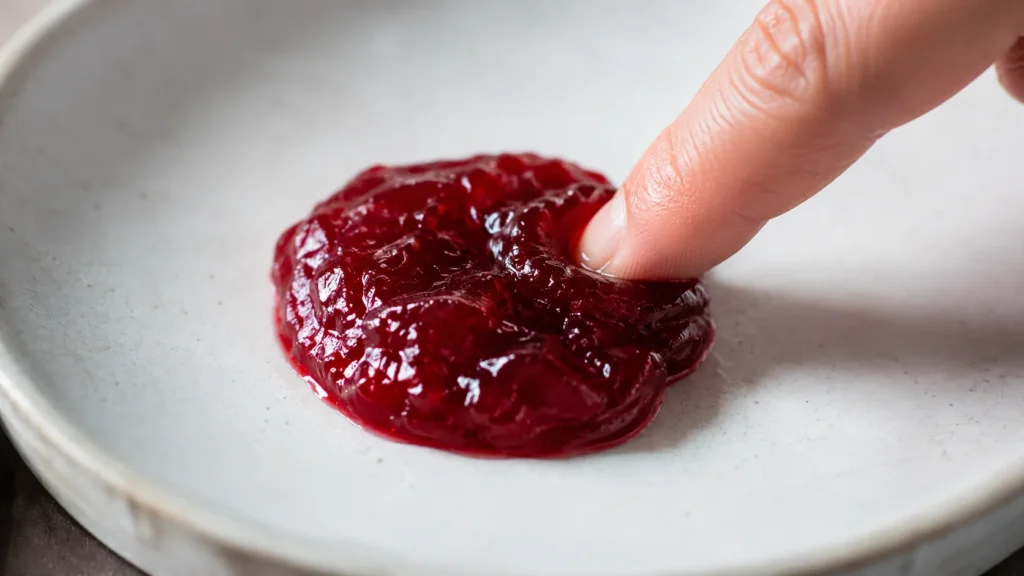
Drop a tiny spoonful on your cold plate from the freezer and push it with your finger. If it wrinkles and holds its shape, your jam is set. This usually takes about 20-25 minutes of boiling total.
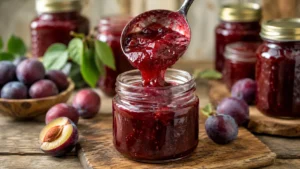
Step 7: Jar It Up
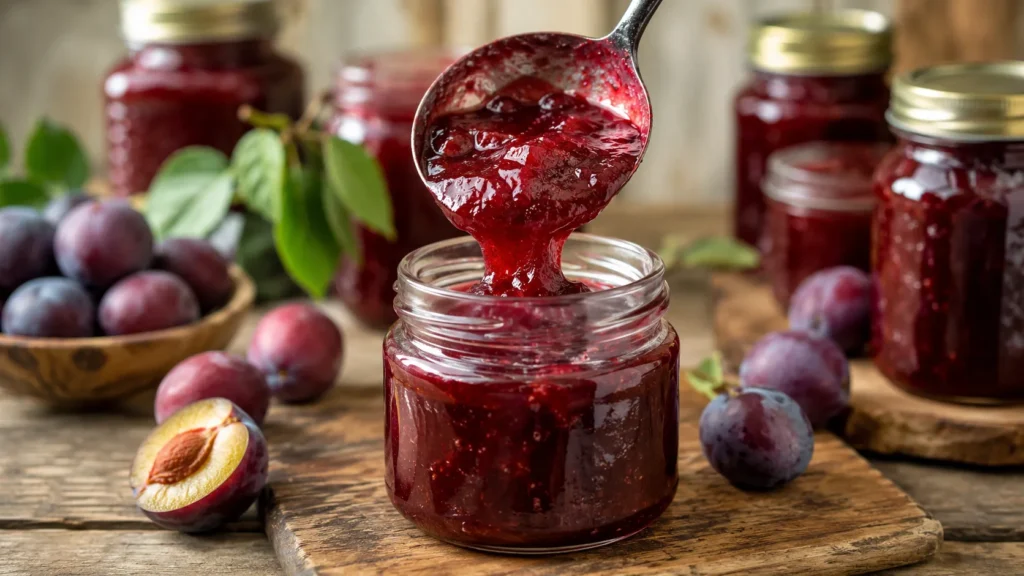
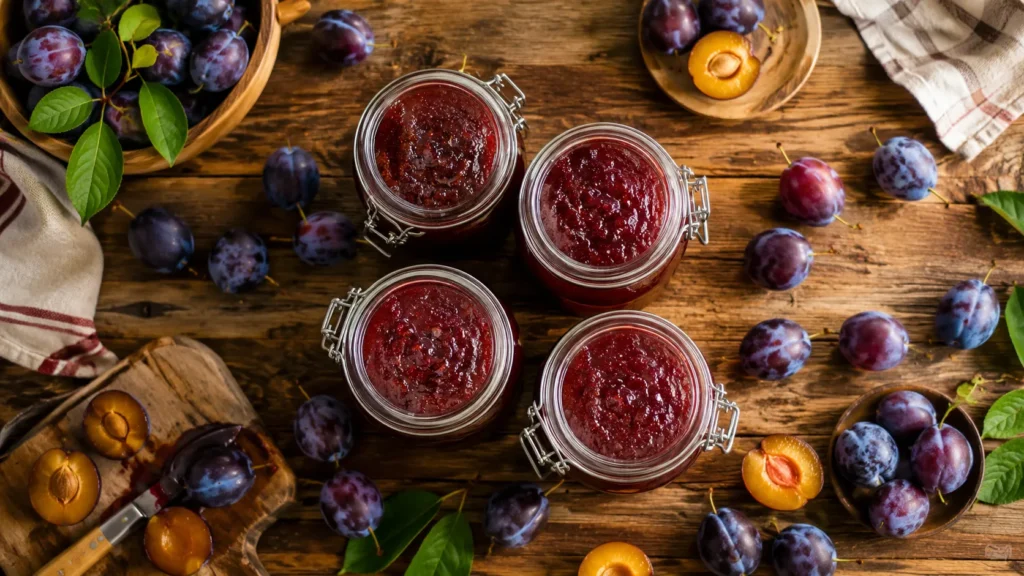
Ladle the hot jam carefully into your warm sterilized jars, leaving about a quarter inch of space at the top. Wipe the rims clean, seal the lids, and let them cool completely on the counter.
What is Plum Jam Recipe, Jamie Oliver
It’s a beautifully simple, fruit-forward preserve made with fresh plums, sugar, and lemon. Jamie’s style keeps things unfussy and honest, no fancy pectin, just fruit doing its natural thing. It’s the kind of jam that tastes like someone actually made it with care.
Why You Will Love This Recipe
You only need three ingredients and one pot. Seriously, that’s it. I’ve made jam recipes that felt like science experiments, and this is not that at all.
The flavor is deep and rich, a little sweet, a little tart, with this almost wine-like quality from the plum skins. It tastes way more complex than the effort you put in.
And honestly? Handing a jar to your neighbor with a little ribbon on it feels really, really good.
Recipe Card

Plum Jam Recipe Jamie Oliver
Ingredients
Equipment
Method
- Wash, pit, and roughly chop your plums. You don’t need to peel them; the skins melt right in and give the jam this gorgeous deep ruby color.

- Pop your jars in a 200°F oven for about 10 minutes. I do this while I’m prepping the fruit so everything’s ready to go at the same time.
- Add your chopped plums and the water to your pot over medium heat. Stir gently and let them soften for about 8-10 minutes until they start breaking down.
- Pour in the sugar and lemon juice, then stir until the sugar fully dissolves. The whole pot turns this beautiful dark pink and smells absolutely dreamy right about now.
- Turn the heat up to medium-high and let the jam reach a full rolling boil, one that doesn’t settle down when you stir it. Keep stirring often so it doesn’t stick to the bottom.

- Drop a tiny spoonful on your cold plate from the freezer and push it with your finger. If it wrinkles and holds its shape, your jam is set. This usually takes about 20-25 minutes of boiling total.
- Ladle the hot jam carefully into your warm sterilized jars, leaving about a quarter inch of space at the top. Wipe the rims clean, seal the lids, and let them cool completely on the counter.
Notes
Pro Tips
Don’t skip the lemon juice. It balances the sweetness and also helps the jam set naturally since plums are a bit low on pectin. I learned that the hard way one summer when my jam came out more like plum syrup, still delicious, but very drippy on toast.
Keep a cold plate in the freezer from the very start. The wrinkle test is way more reliable than any thermometer, in my experience.
Stir more often than you think you need to. The sugar can scorch at the bottom before you even notice.
Ingredient Substitutions
No fresh plums? Frozen ones work surprisingly well. Just thaw them completely and drain off any extra liquid first.
You can swap the white sugar for raw cane sugar for a slightly deeper, molasses-y flavor. I did this once, and my husband couldn’t stop eating it straight from the jar with a spoon.
Easy Variations
Add a cinnamon stick or two while the jam cooks and remove it before jarring. It gives a gentle warmth that’s perfect on biscuits in the fall.
A tablespoon of vanilla extract stirred in at the very end is something I stumbled onto by accident, and now I do it every single time.
Common Mistakes to Avoid
Don’t rush the boiling stage by cranking the heat too high. It can scorch the bottom fast and give the whole batch a slightly bitter edge.
Also, please don’t skip sterilizing your jars. I know it seems like an extra step, but it’s the difference between jam that lasts six months and jam that grows fuzzy in three weeks.
Serving Suggestions
This jam is obviously incredible on buttered toast or warm biscuits. But I also love spooning it over plain Greek yogurt with granola for breakfast.
Try it stirred into your oatmeal, spread on a cheese board next to sharp cheddar, or as a filling inside thumbprint cookies. It’s more versatile than you’d think.
Storage Tips
Sealed jars keep in a cool, dark pantry for up to a year. Once opened, pop them in the refrigerator and use within 3-4 weeks.
If a jar didn’t seal properly (the lid doesn’t pop down in the center), just refrigerate it immediately and use it first.
Nutrition Facts
| Nutrient | Amount |
|---|---|
| Calories | 45 kcal |
| Total Carbohydrates | 11g |
| Total Sugars | 10g |
| Dietary Fiber | 0.3g |
| Protein | 0.1g |
| Total Fat | 0g |
| Vitamin C | 2% DV |
| Potassium | 35mg |
Health Benefits and Taste
Plums are actually packed with antioxidants, and even after cooking, you still get some of that goodness. The natural polyphenols in the skins — which stay right in this jam — are really good for you.
And the taste? It’s that perfect sweet-tart balance that makes you close your eyes on the first bite. Not cloyingly sweet like store-bought, but bright and fruity with real depth.
A little goes a long way, and knowing exactly what’s in it — just fruit, sugar, and lemon — is a genuinely nice feeling.
Personal Experience
The first time I made this plum jam recipe Jamie Oliver style, I burned the first batch a little because I walked away to answer the phone. Even that slightly-too-dark batch disappeared within a week because my kids put it on everything.
Conclusion
I hope this recipe brings as much joy to your kitchen as it has to mine over the years. There’s something truly special about making your own jam from scratch — it’s simple, satisfying, and a little bit magical. If you try it, please come back and leave a comment telling me how it turned out! And if you loved it, share it with a friend who might need a little homemade happiness in their pantry too.
Frequently Asked Questions
Can I use frozen plums instead of fresh?
Absolutely, you can! I’ve done it myself in the middle of winter. Just thaw them fully and drain off the extra liquid first.
How long does homemade plum jam actually last?
Sealed jars sitting in a cool pantry will stay good for up to a year. Once opened, though, keep it refrigerated and use it within about three weeks.
My jam didn’t set properly. What went wrong?
Don’t panic, it happens to all of us! Just pour it back in the pot and boil it a little longer. The wrinkle test is your best friend here.
Can I cut down the sugar if I want it less sweet?
From my experience, going below one cup starts affecting how well it sets. I’d try reducing just a little at first and see how you like it.
Is there anything fun I can add to change the flavor?
Oh yes, in my kitchen, I almost always toss in a cinnamon stick or a splash of vanilla. It makes the whole jar taste like something really special.