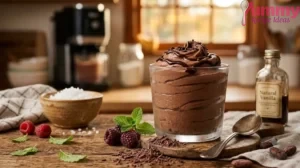
Ingredients
Equipment
Method
Step 1: Chill the Ingredients
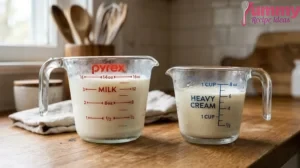
- Make sure the milk and heavy cream are cold before you begin. Starting with chilled ingredients helps the Ninja Slushi create a thick, creamy frozen texture more efficiently.
Step 2: Mix the Dairy
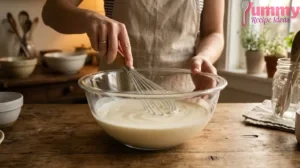
- Add the cold milk and heavy cream to a large bowl. Whisk gently until combined, keeping the mixture smooth rather than whipping the cream.
Step 3: Add the Chocolate
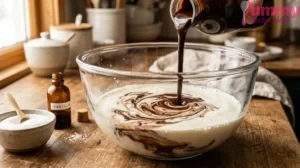
- Stir in the chocolate syrup, sugar, vanilla extract, and a small pinch of salt. Whisk until the sugar dissolves and the mixture is evenly chocolatey.
Step 4: Taste the Mixture
- Taste before adding it to the machine. If you prefer a sweeter Frosty, add a little more sugar and whisk until fully dissolved.

Step 5: Fill the Ninja Slushi
- Pour the chilled mixture into your Ninja Slushi, staying within the recommended fill line. Avoid overfilling so the mixture can freeze and circulate properly.
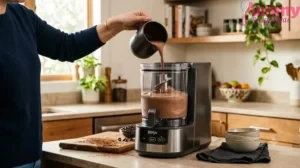
Step 6: Start the Machine
- Choose the appropriate frozen drink or milkshake setting on your Ninja Slushi. Let it run until the mixture becomes thick, cold, and creamy.
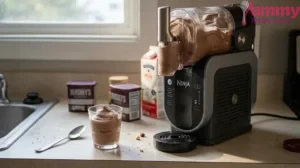
Step 7: Check the Texture
- The Frosty should be thick enough to hold its shape but still soft enough to scoop easily. If it looks too thin, let the machine continue for a little longer.

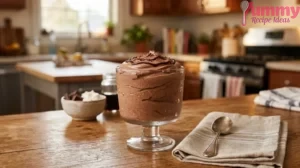
Step 8: Serve Immediately
- Spoon the finished Frosty into chilled cups and serve right away. I prefer eating it with a spoon because that thick, creamy texture is part of the fun.
Video
Notes
This recipe has about 280 calories per serving, depending on the milk, chocolate syrup, and sweetener you use. My kitchen tip: Chill the ingredients before starting. The colder the mixture is when it goes into the Ninja Slushi, the quicker it reaches that thick, spoonable Frosty texture.